Steps to Create a GL Segment
- Open Settings Manager
From the top of your screen, click the Settings Manager module.
- Add a GL Segment
In the left-side navigation menu, select GL Segments, then click Add GL Segment.
- Fill in GL Segment Details
The GL Segment Editor window will open. Enter the following:- Title: The name of the GL segment displayed to users.
- Options (checkboxes):
- Lock this GL Segment: Prevents changes to this code if assigned as a default in User and Group Manager to a user.
- Show Description in Report Print Preview
- Manage GL Codes Linked to the GL Segment
In the GL Codes table, you can add codes associated with this segment.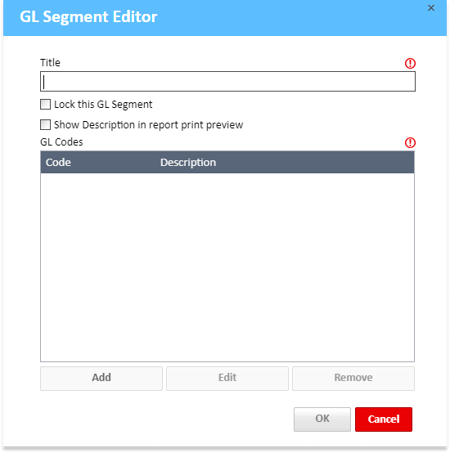
- If you need to create a new GL Code, click Add under the GL Codes table. This opens the GL Code Editor window.
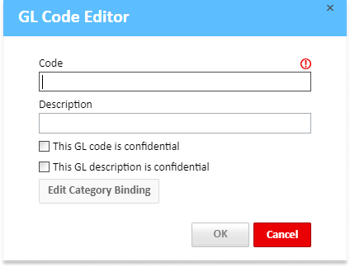
Enter the following:- Code: The code number.
- Description: A brief explanation to identify the GL Code.
- Confidentiality Options:
- This GL Code is Confidential: Displays the code as ****.
- This GL Description is Confidential: Displays the description as ****.
- Bind GL Code to a Category:
Click Edit Category Binding to link this GL Code to one or more categories.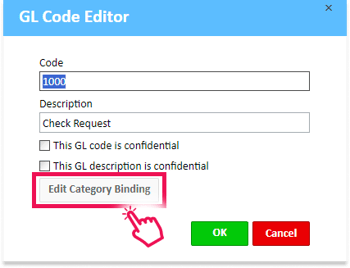
The GL Code Category Binding window will open.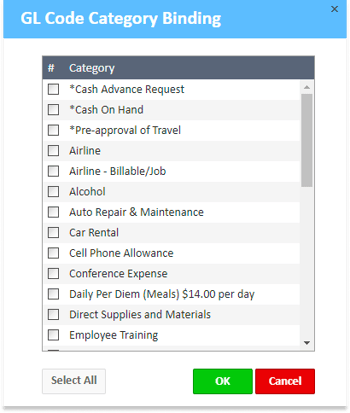
Select the categories you want to bind to this GL code. You can also click Select All to bind all categories.
Note: Typically, a GL Code binds to one Category, while codes like Departments, Entities, Locations, or Cost Centers usually bind to all or many categories.
- If you need to create a new GL Code, click Add under the GL Codes table. This opens the GL Code Editor window.
- Save or Handle Duplicates
Once you have entered all the necessary information, click OK to save the GL Code. If the GL Code already exists, a notification will appear.
- Edit or Remove GL Codes
- To edit an existing GL Code, select it from the table and click Edit. Update as needed, then click OK to save.
- To remove a GL Code from the segment, select it and click Remove. Confirm deletion when prompted.

- Finalize GL Segment
After adding and managing GL Codes, click OK to save the GL Segment or Cancel to discard changes.