![ExpensePoint White Logo.png]](https://support.expensepoint.com/hs-fs/hubfs/ExpensePoint%20Logos/ExpensePoint%20White%20Logo.png?height=40&name=ExpensePoint%20White%20Logo.png)
Steps to Add a New File to Your Automations List
- Open the Automation Manager Module
Navigate to the Automation Manager module from the top navigation bar.
Note: If you do not see it in the top menu, check under the More menu located in the upper right corner of your screen.
- Access the Add New File Option
From the Output Files navigation menu on the left side of the screen, select Add New File.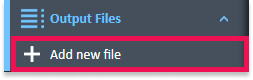
- Open the Output File Editor
This will open the Output File Editor window.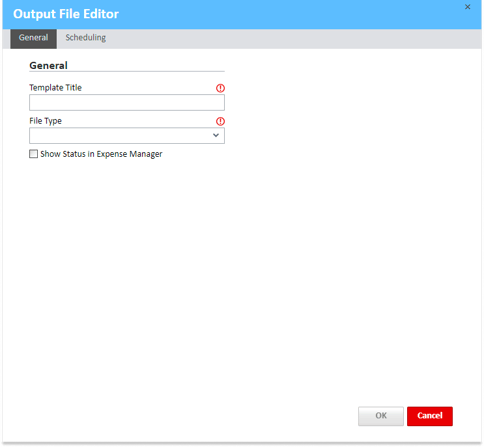
- Output File Editor Tabs
The editor includes two main tabs:- General
- Scheduling
General Tab
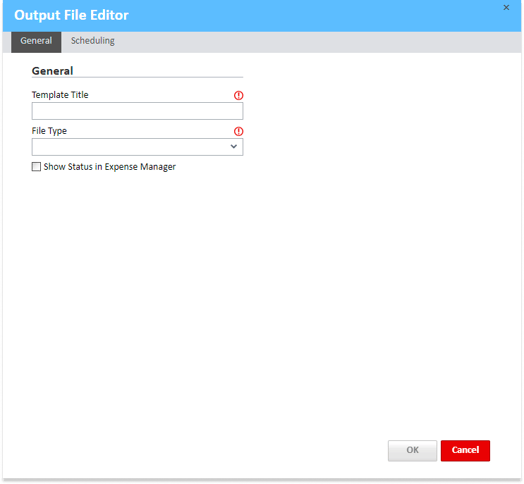
In the General tab, you can:
- Enter the Template Title
- Select the File Type
- Optionally, check the box “Show status in expense manager” to display the file processing status on your expense reports.
Available File Types
The following file types are currently supported in ExpensePoint:
- CSV
- Amex card remittance (CAD)
- Amex card remittance (USA)
- ACH transfer
- HSBC remittance
- TransactionPro
- NACHA file
- Quickbooks Online
- Sage 50 (Canadian Version)
- Xero
- NetSuite
- Viewpoint Spectrum
- EFT 80 byte file
Scheduling Tab
Scheduling Tab Overview
In the Scheduling tab, you can set when the automated file output should be sent to your accounting system via SFTP or other methods. 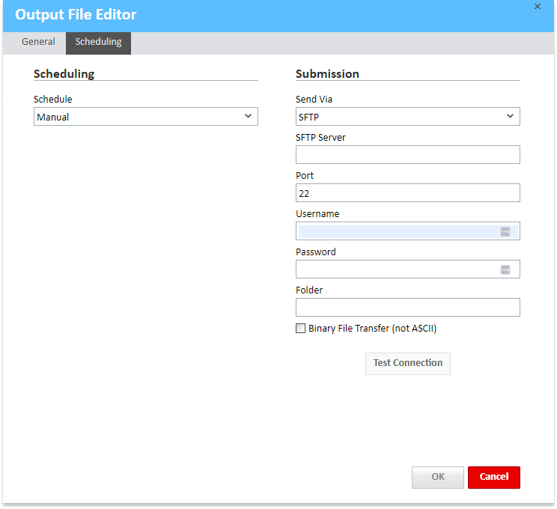
Steps to Setting the Automation Schedule
- Setting the Schedule
Define the frequency and timing for the automated export under the scheduling options.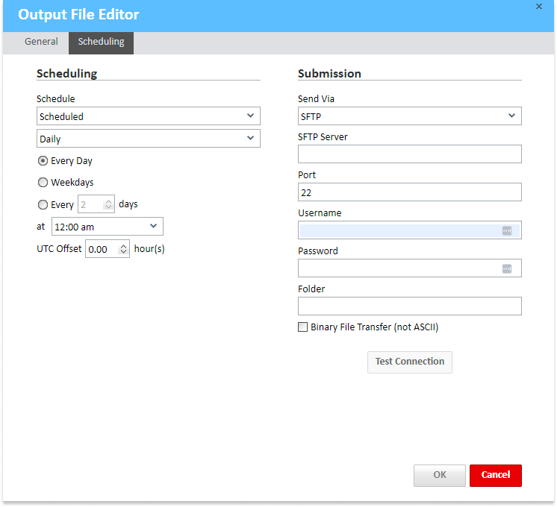
- Submission Method
In the Submission section, select the method for sending the file from the Send Via dropdown:- Do not send: The file will not be sent anywhere.
- SFTP: Send the file through a Secure File Transfer Protocol (recommended).
- FTP: Send the file through a regular File Transfer Protocol (unsecured, not recommended).
- Email: Enter an Email address to receive the file by email.
- HTTP Post: Enter the HTTP URL to post this file to an external link.
- Submission Details for SFTP or FTP
If you select SFTP or FTP, provide the following details:- SFTP Server: Server name.
- Port: Port name.
- Username: Username for the server above.
- Password: Password for the server above.
- Folder: Destination folder from your server where the file will be placed.
- Binary File Transfer (not ASCII): Enable this checkbox to send the file in binary format.
Note: Please consult your IT Department for these technical details.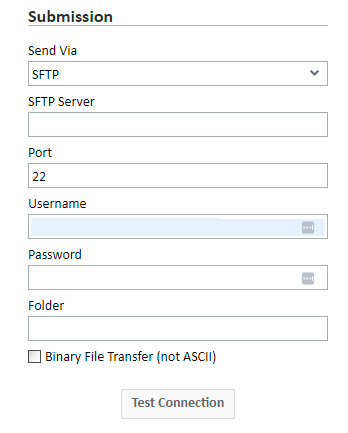
- Save Your Settings
Once you have configured the schedule and submission details, click OK to save your automation setup.
Watch the video below for a visual guide to Adding a New File.
Watch the video below for a visual guide to Scheduling and Submission of an Output File.