![ExpensePoint White Logo.png]](https://support.expensepoint.com/hs-fs/hubfs/ExpensePoint%20Logos/ExpensePoint%20White%20Logo.png?height=40&name=ExpensePoint%20White%20Logo.png)
If you have an expense with a transaction attached that needs a receipt added to it, you can easily do so by following these steps.
-
Access the Expense Manager
Open the Expense Manager and select the relevant report. The list of expenses can be found in the lower half of the screen.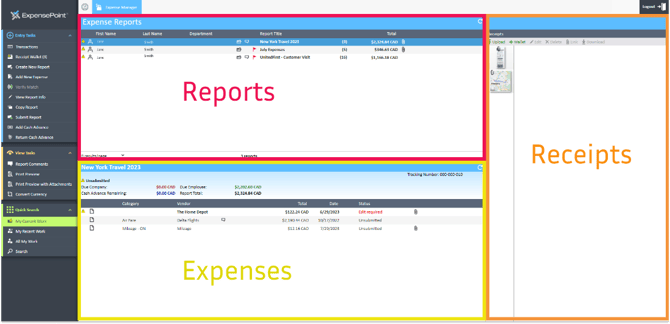
-
Select the Expense
Highlight the expense with a transaction attached.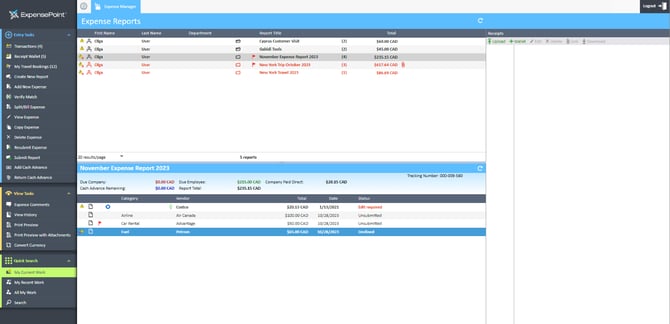
-
Verify Match
Click the Verify Match option from the Entry Tasks navigation menu on the left side of the screen.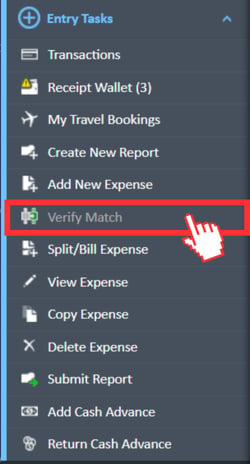
-
Verify the Details
A window will open, displaying both the transaction details and the corresponding receipt. Review the transaction and receipt. If they correspond, click the Verify Match button to confirm.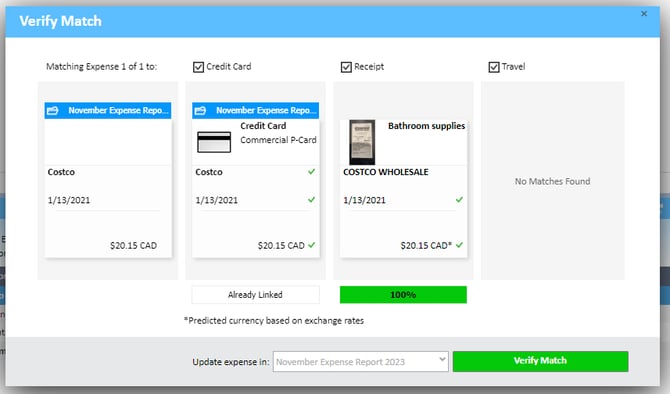
-
Understand the Match Percentage
A match percentage will be displayed. This may vary due to slight differences, such as mismatched dates (e.g., the date the expense was incurred versus the posted date) or differences in the vendor name on the receipt. -
Receipt Attached
Once verified, the receipt will be successfully attached to the expense.