![ExpensePoint White Logo.png]](https://support.expensepoint.com/hs-fs/hubfs/ExpensePoint%20Logos/ExpensePoint%20White%20Logo.png?height=40&name=ExpensePoint%20White%20Logo.png)
Steps to Edit an Xporter Template
- Access the Xporter Module
From the top right corner of the screen, under More, select the Xporter module.
Note: The More menu is not available when you are in the Transaction Manager or Policy Manager modules. To access it, switch to any other module first. - Select the Template
From the Xporter workspace, select the template you want to edit.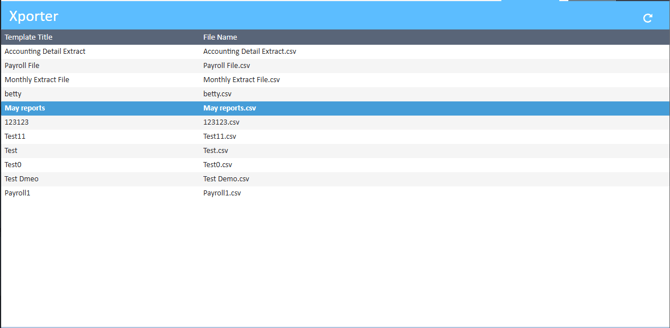
- Select the Edit Template Option
Click the Edit Template option from the Template Tasks navigation menu on the left side of the screen.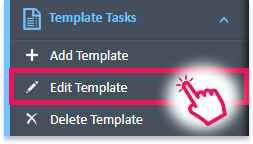
- Xporter Template Editor Window
This will open the Xporter Template window.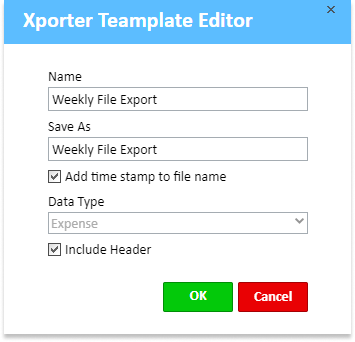
- Editor Options
In the editor, you can modify the following fields:- Name: Enter the name of the template.
- Save As: Specify the file name for the export.
- Add Time Stamp to File Name: Check this box if you want to automatically add a time stamp to the exported file name.
- Data Type: Choose either Expense or User from the dropdown menu.
- Include Header: Check this box if you want to include a header row with field names in the exported file.
- Save the Template
Click OK to save the template.
Watch the video below for a detailed guide on Editing a Template..