![ExpensePoint White Logo.png]](https://support.expensepoint.com/hs-fs/hubfs/ExpensePoint%20Logos/ExpensePoint%20White%20Logo.png?height=40&name=ExpensePoint%20White%20Logo.png)
The My Transactions module is a fundamental component of the ExpensePoint expense management system. It provides users with a central hub for recording, managing, and tracking financial transactions, whether these come through integrations with financial institutions or are entered manually.
Setting Up Transactions
-
Credit Card Integration: If you have set up credit card integrations during onboarding, your transactions will automatically appear in the My Transactions list.
-
Plaid Integration: If you don’t have credit card integration, you can still enable transaction feeds by setting up Plaid.
-
Scheduled File Imports: You can also automate transaction uploads by scheduling file imports into ExpensePoint.
Notifications
Every time a new transaction is imported, you will receive both a push notification and an email alert.
Managing Transactions
-
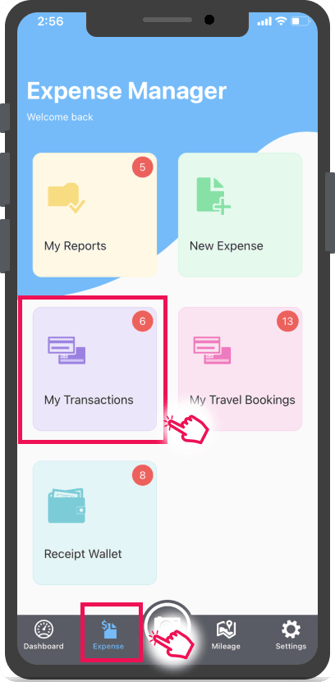
To access your transactions, navigate to the My Transactions module via the Expense tab in the bottom navigation menu.
-
The module displays all credit card transactions that have been fed through your integrations.
-
If you have no integrations or transactions uploaded yet, the transaction list will appear blank.
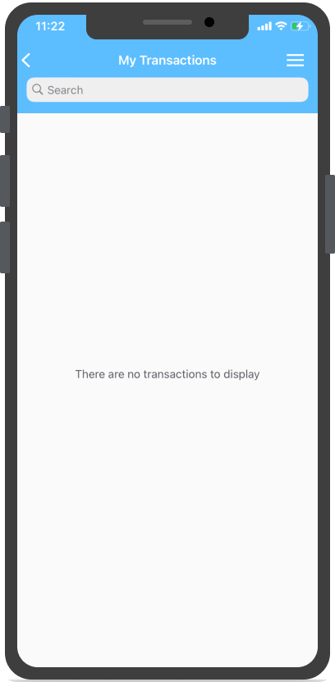
Once you start getting transactions, they will appear in the list.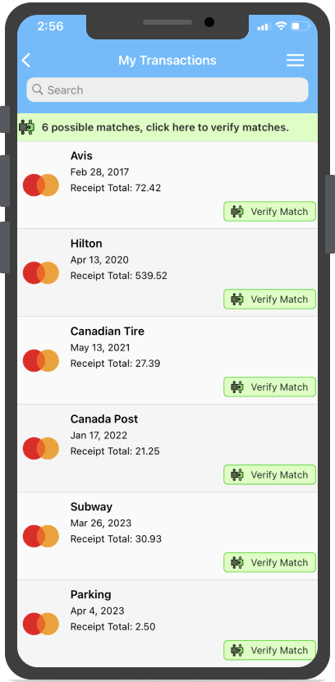
-
If you do not have any integrations, you can manually create a template to upload your financial transactions into the system.
-
You can quickly create an expense from any transaction by swiping the transaction line item to the right and tapping the Create Expense button.
Matching Receipts and Transactions
-
When a receipt’s details (vendor name, date, total, taxes) match a transaction, the Verify Match button will appear on the transaction.
-
It may take up to 24 hours for the system to identify matches from integration data.
-
The OCR Receipt Reader may not always capture receipt information perfectly; matches with over 80% accuracy are considered a true match.
-
In the Receipt Wallet, receipts with matching transactions will be labelled with Verify Match.
For web browser or desktop application instructions, please refer to this article.