Steps to Create a Manual Expense
-
Open New Expense
From the Expense menu tab, tap New Expense to start creating a manual expense.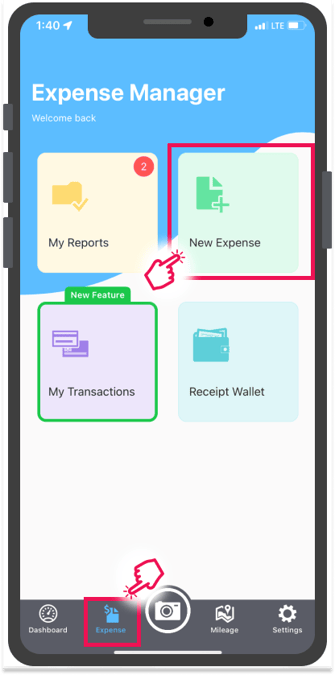

-
Alternative Access
Create a manual expense from inside an existing Expense Report. Learn more in Add new Expense to an Expense Report.
If you have not created an Expense Report yet, tap the plus icon in the upper right corner of the screen to create one.
Enter the report details and tap Add to save.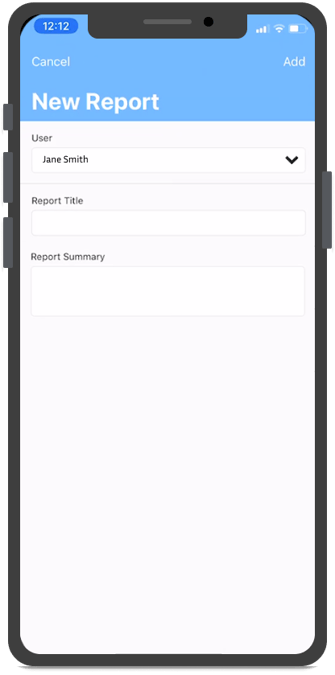

-
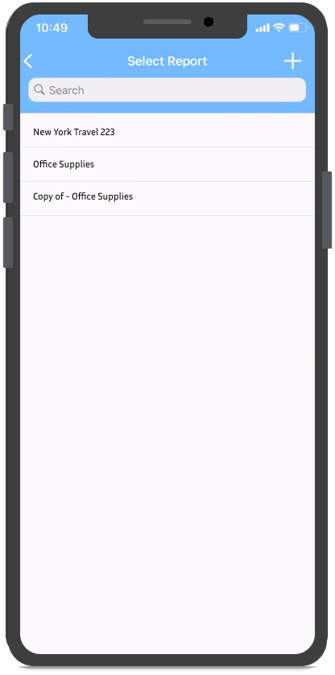
Select Existing Report
Choose an Expense Report from the report dropdown.
-
Choose Receipt Source
Add a receipt either from the Receipt Wallet or by taking a picture of your receipt. If necessary, delete the uploaded receipt to replace it.
-
View Receipt Details
Tap the uploaded receipt to open and review its details.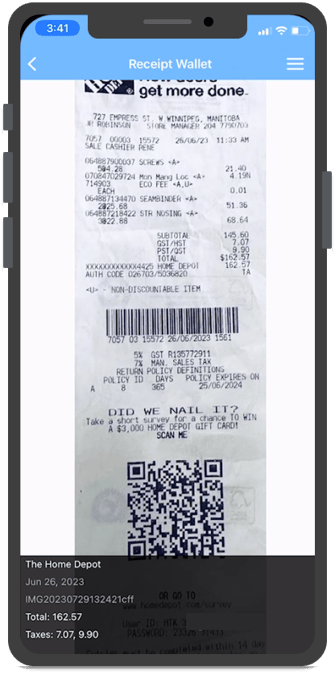
Enter Expense Details
-
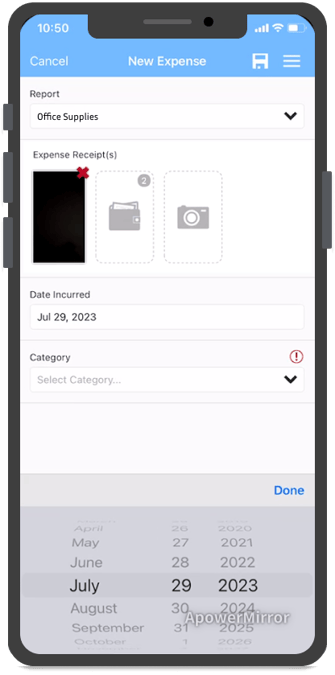
Enter Date Incurred
Select the date when the expense occurred.
-
Select Category
Choose the expense category from the dropdown list.
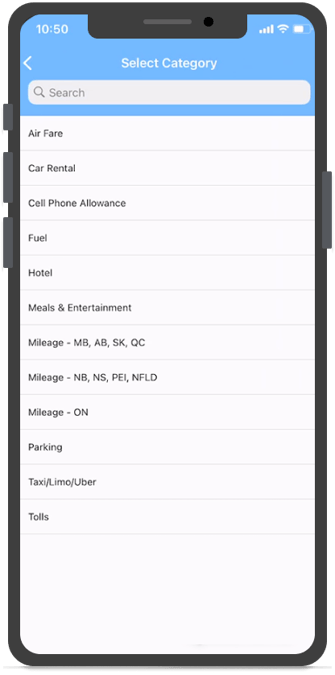 Once you select the category, additional fields will be added for you to fill out.
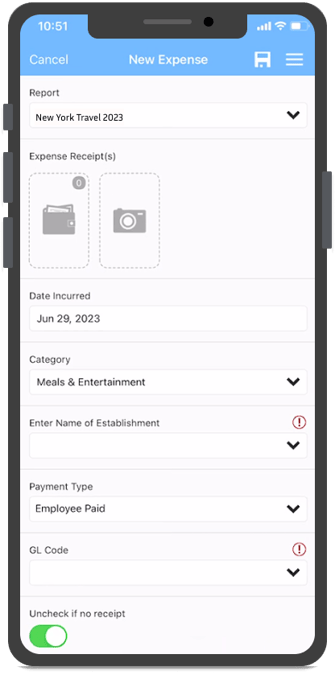
Note: You must enter a category and all required fields
to enable the Save option.

-
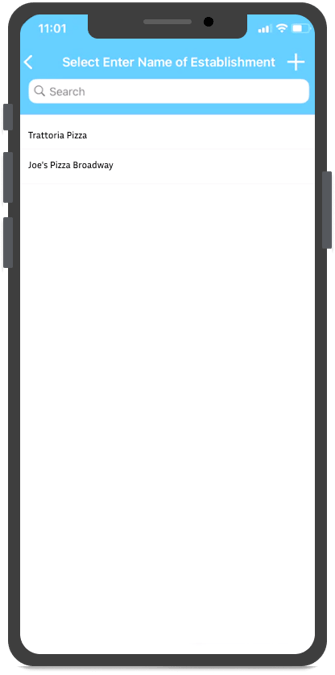
Enter Vendor Details
Select the vendor from the dropdown or create a new vendor if allowed, by tapping the plus icon from the upper right corner of the screen.
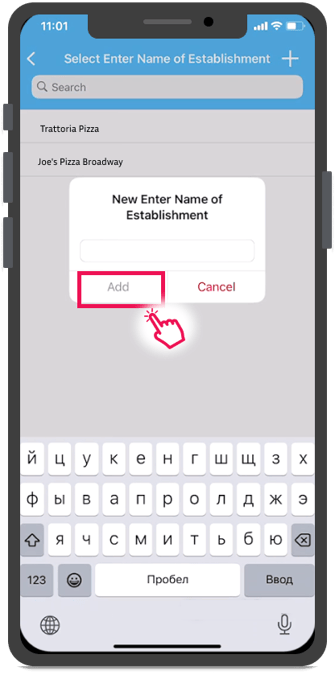
Note: If your organization has a preselected list of vendors creating a new Vendor may not be an option. -
Select Payment Type
Choose the payment type used from the dropdown list of options.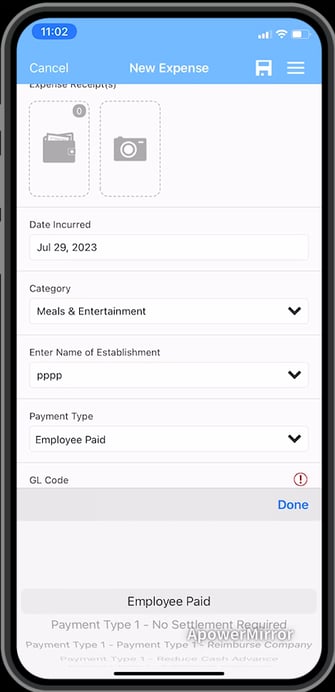
Note: If your payment type is missing, contact your company administrator to have them review your request. -
Select GL Code
Choose the applicable GL Code, including any required subcategories.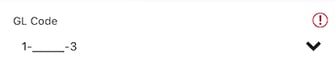
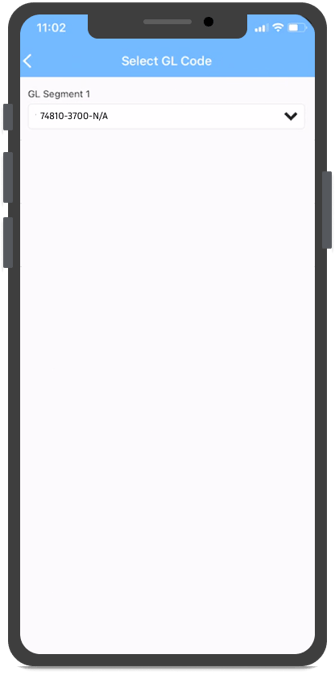
Note: Some GL Codes/Segments have additional categories with additional dropdown options. -
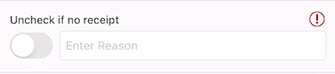
Receipt Requirement Toggle
By default, the toggle for “Uncheck if no receipt” is enabled. Uncheck this option only if no receipt is available, and provide a reason.
-
Enter Business Purpose
Enter the business purpose of the expense. This is a required field.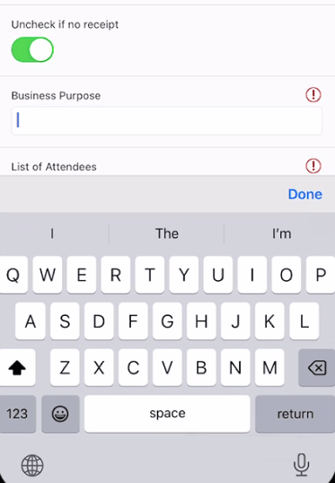
-
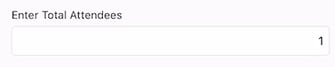
Add Attendee Information
List all the contacts that were in attendance for this expense and enter the total number of attendees.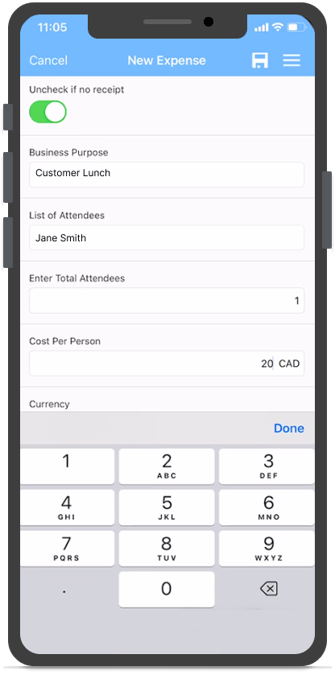
-
Enter Cost Details
Enter the cost per person or the total amount; the other will auto calculate.
-
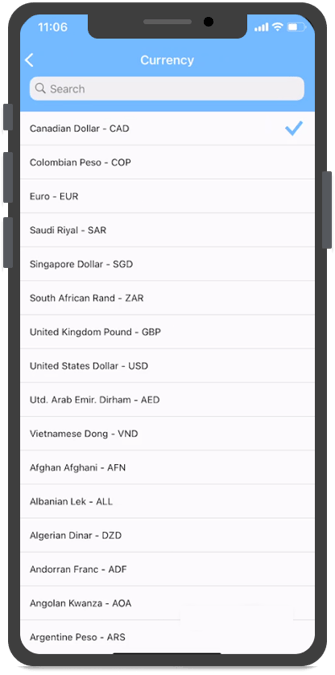
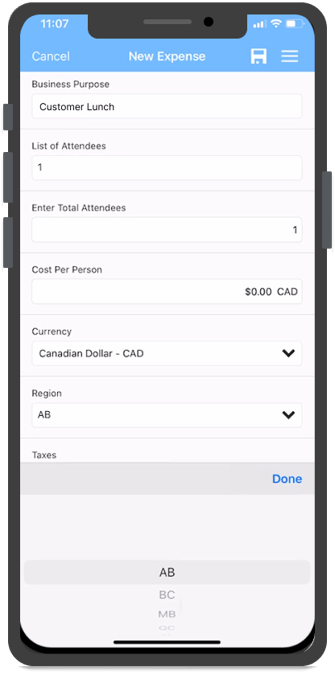
Select Currency and Region
Choose the appropriate currency and region where the expense occurred.

-
Adjust Exchange Rate
If you’ve applied a different currency for the expense, the Exchange Rate field will appear, displaying the most up-to-date exchange rate for that currency based on Xe: Currency Exchange Rates and International Money Transfers rates.
If the currency is no longer relevant for the date of the expense, you can adjust it manually. -
Taxes
Taxes are auto-filled based on the receipt total and company settings. Tap the Taxes field to adjust or select tax types. Contact your administrator if you do not see the necessary tax type.
-
Enter Receipt Total
Enter the receipt total if not already entered. The total field will autofill once the receipt total is entered, but can be adjusted if you paid anything in addition to the receipt total, for example, tips.
-
Save Expense
Tap the Save icon
in the upper-right corner of the screen.
Alternatively, you can tap the Save icon
from the hamburger menu in the upper right corner.


Note: You cannot save the expense if any required fields are missing. -
Policy Infraction Warning
If the expense exceeds company limits, a warning will appear
-
Review or Save
Tap Review to adjust the expense for compliance or save it as is.
Flagged expenses will display a red ribbon on top of the Expense Details screen and a flag icon in the Expense List view.
To learn more about another way to create an expense, please view Create an Expense from a Transaction.
For web browser or desktop application instructions, please refer to this article.