![ExpensePoint White Logo.png]](https://support.expensepoint.com/hs-fs/hubfs/ExpensePoint%20Logos/ExpensePoint%20White%20Logo.png?height=40&name=ExpensePoint%20White%20Logo.png)
Travel Bookings in ExpensePoint allows users to integrate corporate travel booking with expense management by automatically linking travel data to expenses. Users can perform all travel management and booking directly within ExpensePoint. This helps prevent out-of-policy spending and automates reimbursements.
The Travel Bookings feature is typically set up during onboarding. However, if you want to add Travel Bookings after joining ExpensePoint, you can contact support to have it set up.
Steps to Make Travel Bookings
Once Travel Bookings is set up, you can begin logging travel bookings in ExpensePoint.
- Open the Expense Manager
Navigate to the Expense Manager module at the top of the ExpensePoint screen.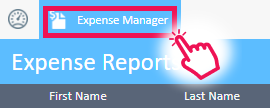
- Select My Travel Bookings
From the Entry Tasks navigation menu on the left side of the screen, select My Travel Bookings.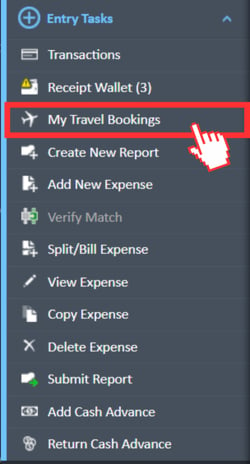
- Access Book/View Travel
In the top right corner of the My Travel Bookings screen, select the Book/View Travel option.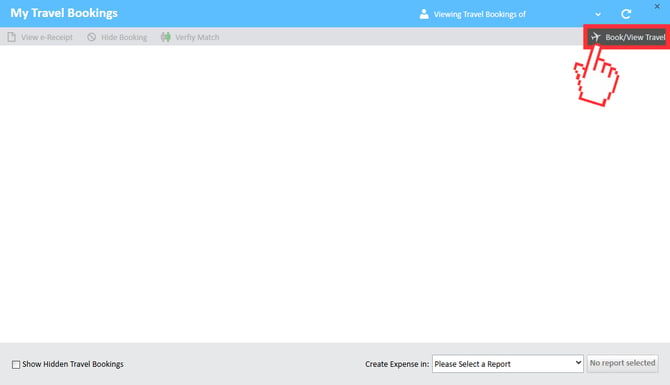
- Enter Travel Information
Fill in the required travel details in the window that opens.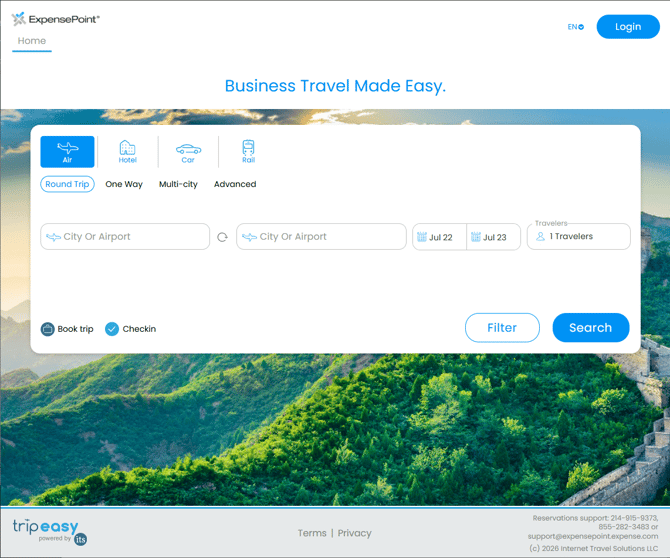
- View Travel Bookings
After completing your booking, it will appear in the My Travel Bookings window, where you can view your e-receipts and create expenses from them..png?width=670&height=372&name=image%20(15).png)
- More Options
Users can also hide bookings or verify matches with their credit card transactions in this window.