![ExpensePoint White Logo.png]](https://support.expensepoint.com/hs-fs/hubfs/ExpensePoint%20Logos/ExpensePoint%20White%20Logo.png?height=40&name=ExpensePoint%20White%20Logo.png)
The Verify Match feature helps you verify credit card transactions coming into the ExpenseReport system by matching them with their corresponding uploaded Receipts or Travel Bookings.
Using the Verify Match Feature
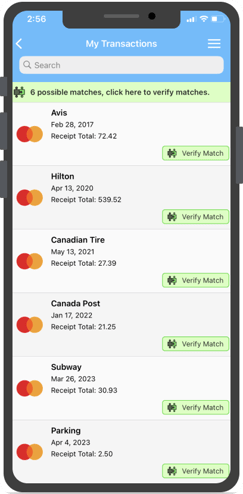
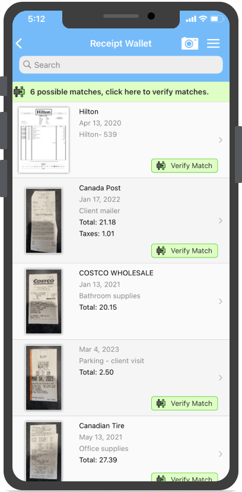
Access the Verify Match feature by tapping Verify Match, either from the Receipt Wallet or from the Transactions list, to view detailed information about each item.
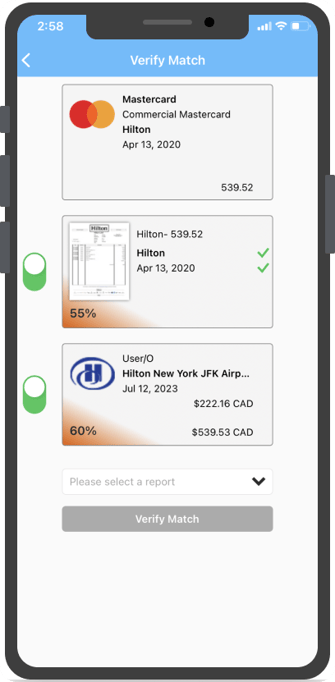
Verify Match identifies matches across the following entities:
-
Transactions
-
Receipts
-
Travel bookings
-
Expenses
In the example above, the ExpensePoint app found matches across 3 entities: a Transaction, a Receipt, and a Travel Booking. A match only requires at least two of these entities to correspond for the Verify Match button to appear on the related items.
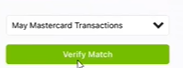
Once you confirm a match, you can add the expense to an Expense Report by selecting the desired report from the dropdown menu below.
Managing Matched Items
-
Toggles on the left side of the matched items allow you to choose which items to include in the Expense Report.
-
Disabling a toggle treats the items as separate transactions.
-
When you tap the Verify Match button, the matched Receipt and Transaction are combined into a single Expense item within the Expense Report.
-
These items will then be removed from the Transaction and Receipt Wallet lists.
Before Verify Match:
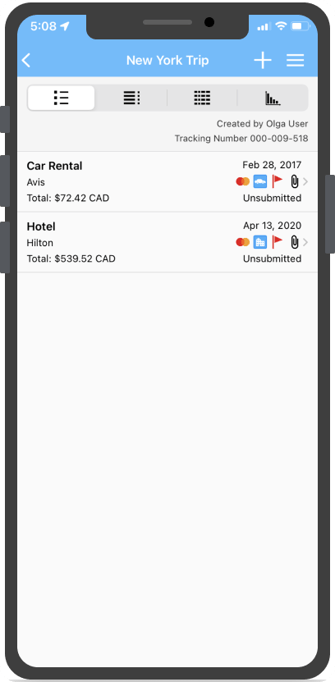
After Verify Match:
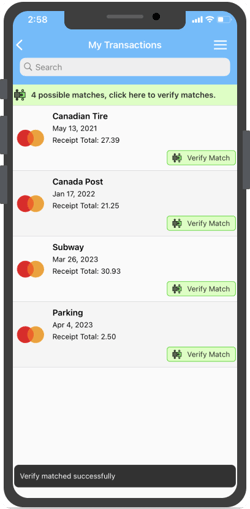
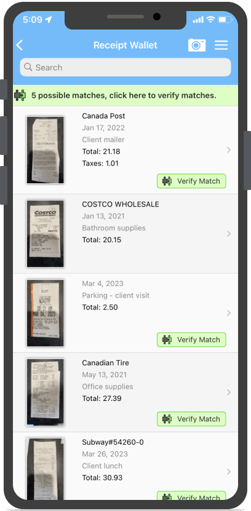
On the expense line item, you will see icons such as the credit card icon, travel booking icon, and paperclip icon for the receipt. These indicate that the expense record was created from multiple sources as a matching record.
For web browser or desktop application instructions, please refer to this article.