The Verify Match feature allows you to verify your Receipts from the Wallet by comparing them against other records from the system that share matching details such as amount, vendor, date, or tax.
To use this feature, tap the Verify Match tab from the Receipt Wallet window. This will display the details of all potential matches. 

To browse through the Receipts in the Verify Match menu, use the up and down arrows in the first column.

Alternatively, you can select a single Receipt from the Wallet first, then click Verify Match to view the details for that specific Receipt.
The Verify Match function typically searches for matches in:
-
Transactions
-
Receipts
-
Travel Bookings
The examples below show how the ExpensePoint system identifies matches across two or three entities within the system.


In the Verify Match screen, there are four main columns: Receipt, Expense, Transaction, and Travel Booking. It’s not necessary for all four to appear; a match is confirmed if at least two entities align. When matches are found, the Verify Match icon will appear next to the corresponding matched items.
Once you confirm a match, you can add the Expense to an Expense Report by selecting the report from the dropdown menu.

The checkboxes at the top of the screen allow you to link all matching items into a single Expense entry in the Expense Report. If you uncheck any box, those items will be treated as two seperate transactions, allowing you to create different Expenses for the unchecked items.
Once the receipts are verified for matches and assigned to an expense in an expense report, the receipts will no longer show up on the Receipt Wallet lists.
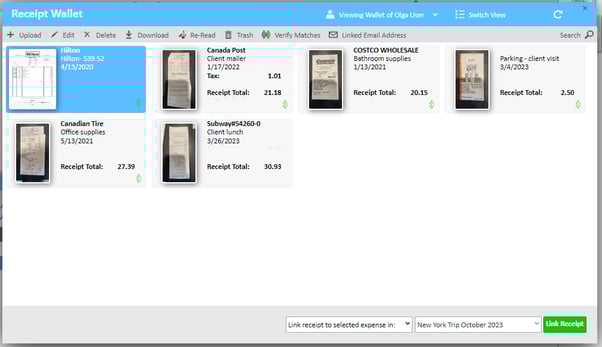
Before Verify Match:

After Verify Match:

You will notice the credit card icon, travel booking icon, and the paper clip icon on the displayed receipts in the Expense line item. These icons indicate that the Expense includes matching records from those sources.

For instructions on Verify Match from Expenses, please refer to this article.
For mobile instructions, please refer to this article.