![ExpensePoint White Logo.png]](https://support.expensepoint.com/hs-fs/hubfs/ExpensePoint%20Logos/ExpensePoint%20White%20Logo.png?height=40&name=ExpensePoint%20White%20Logo.png)
Steps to Create Expenses from the Receipt Wallet
You can create Expenses directly from the Receipt Wallet using any of the following methods:
-
Swipe Left on a Receipt:
From the Receipt Wallet list, swipe left on the receipt you want to use to create an expense.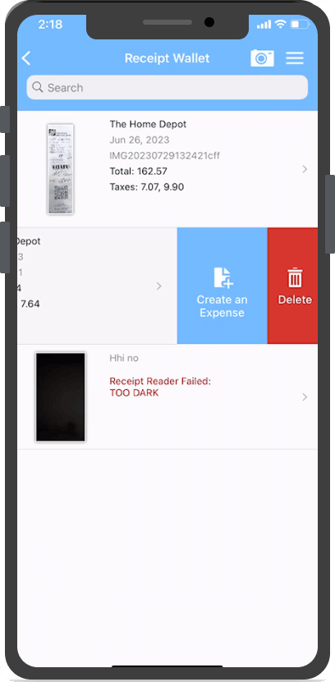
-
Use the Hamburger Menu in the Receipt Wallet List:
Tap the hamburger menu (three horizontal lines) in the upper right corner of the Receipt Wallet list and select Create an Expense.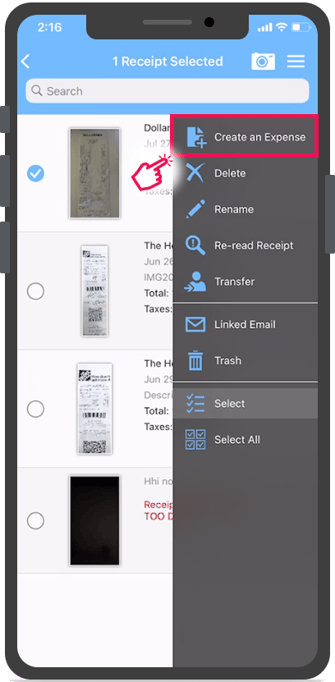
-
From the Receipt Details Screen:
Open the receipt, then tap the hamburger menu on the Receipt Details screen and choose Create an Expense.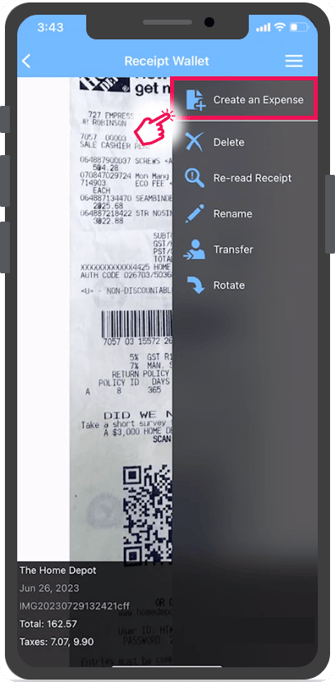
After tapping Create an Expense, you will be prompted to select an Expense Report from the list: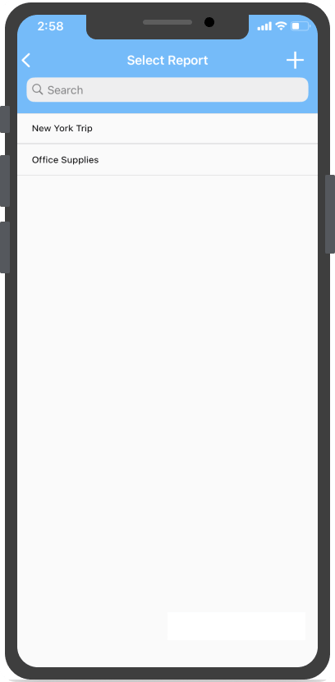
Choose the appropriate report where the receipt will belong, then enter all necessary information on the expense screen. The receipt will be automatically attached to the expense.
For more detailed instructions on how to create an expense, please refer to this article.