![ExpensePoint White Logo.png]](https://support.expensepoint.com/hs-fs/hubfs/ExpensePoint%20Logos/ExpensePoint%20White%20Logo.png?height=40&name=ExpensePoint%20White%20Logo.png)
Creating an expense from a transaction in ExpensePoint is simple and can be done in multiple ways to suit your workflow.
Steps to Create an Expense from a Transaction
-
Open the My Transactions Module:
From the bottom navigation menu, tap on the Expense tab, then select My Transactions.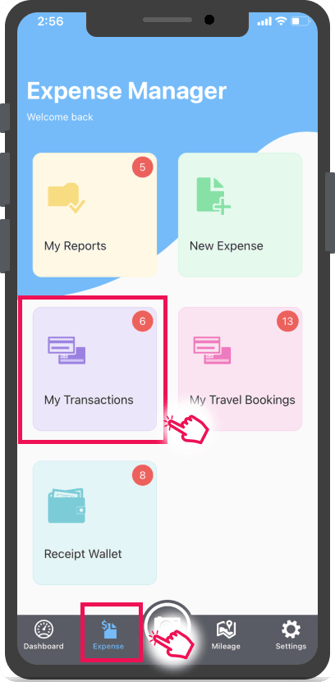
-
Create an Expense from the Transaction List:
Swipe left on a transaction to reveal the Create an Expense option.
Or, tap on the transaction itself and select Create an Expense.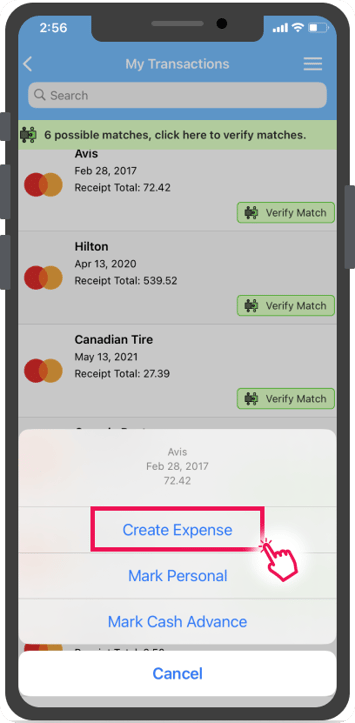
-
Create an Expense via the Hamburger Menu:
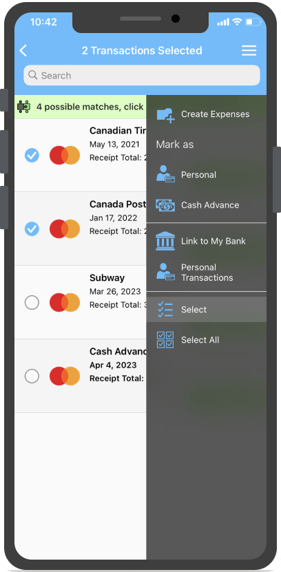
Or, tap the hamburger menu in the upper right corner and choose the Select option. Select one or multiple transactions and tap Create Expense or Create Expenses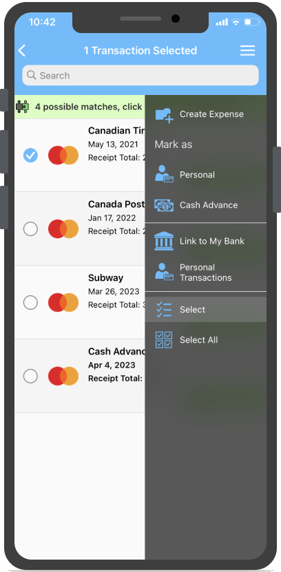
-
Attach Expenses to an Expense Report
Next, select the Expense Report you want to attach these expenses to.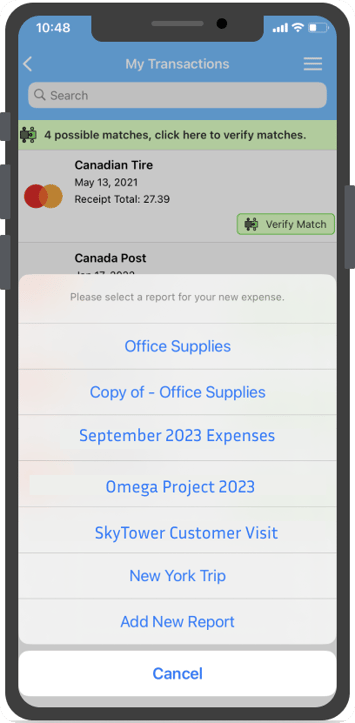
-
Editing and Verifying Expenses
The newly created expense may display a Report Requires Editing tag.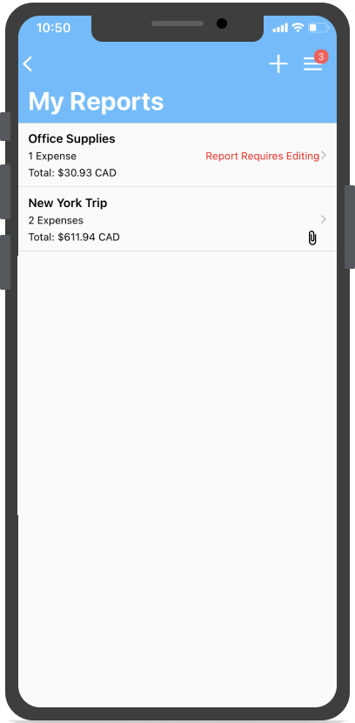
Tap this tag to view possible matches and resolve them using the Verify Match function.
Learn more about Verify Match.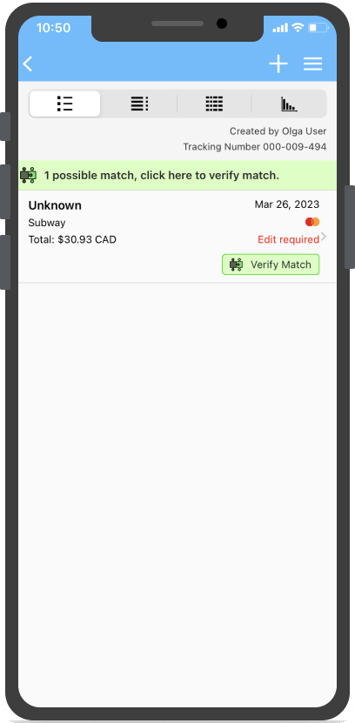
Once verified, tap the expense to enter any additional details needed to complete the expense report.
Note: Receipts can be attached to the expense after it is resolved through Verify Match.
For web browser or desktop application instructions, please refer to this article.