![ExpensePoint White Logo.png]](https://support.expensepoint.com/hs-fs/hubfs/ExpensePoint%20Logos/ExpensePoint%20White%20Logo.png?height=40&name=ExpensePoint%20White%20Logo.png)
To automatically forward your receipt emails directly into your ExpensePoint Receipt Wallet, you need to link your email address.
How to View Your Linked Your Email Address
-
Open the Receipt Wallet Module
From the bottom navigation menu, tap on the Expense tab, then select Receipt Wallet.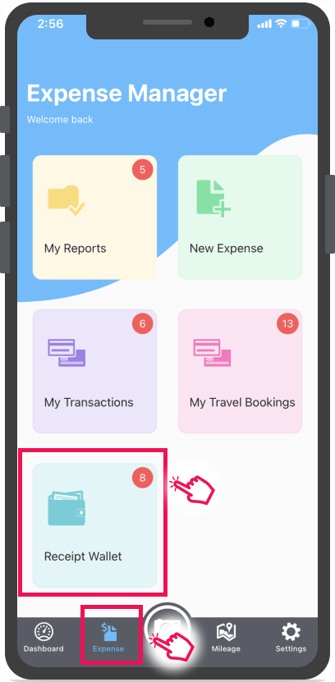
-
Link Email
Tap the hamburger menu icon in the upper right corner and select the Link Email option.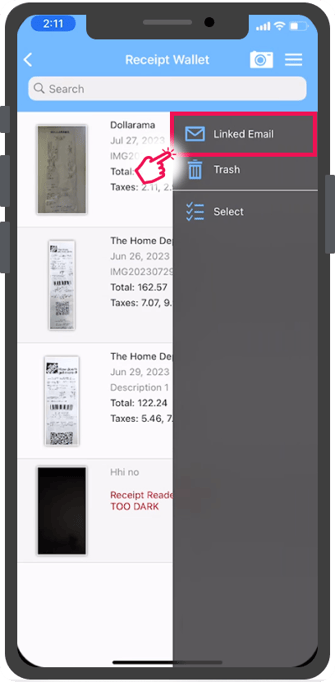
-
Email List
This will open the list of emails that are already linked (if any), from which you can send emails directly into your Receipt Wallet.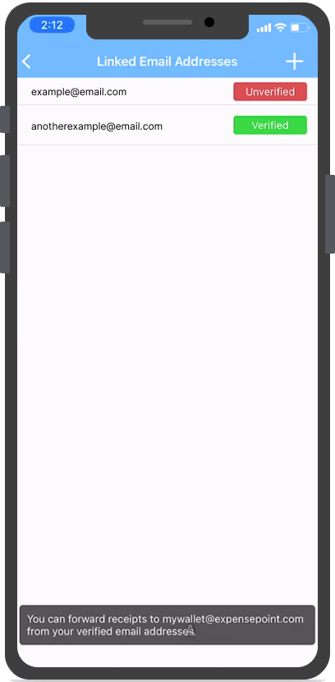
Note: You can only send Receipts from Verified email addresses. Emails from Unverified email addresses will not work.
Steps to Add and Verify an Email Address in the Linked Email Addresses List
-
Add a New Email Address
In the Linked Email Addresses screen, tap the plus icon in the upper right corner to add a new email.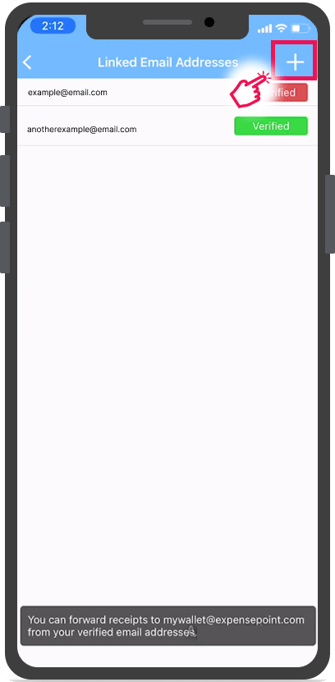
-
Enter the Email Address
A window will appear for you to enter the email address you want to link.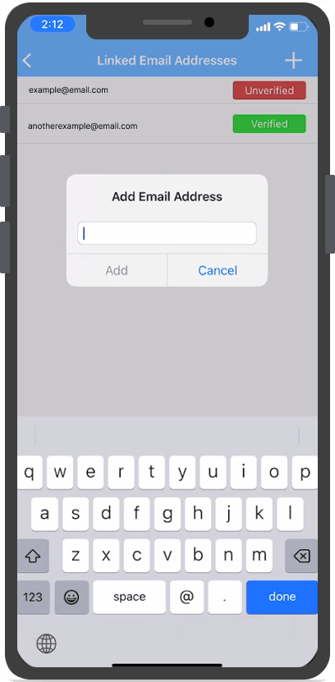
-
Submit the Email Address
After typing the email, tap Add. You will see a confirmation message notifying you that a verification email has been sent.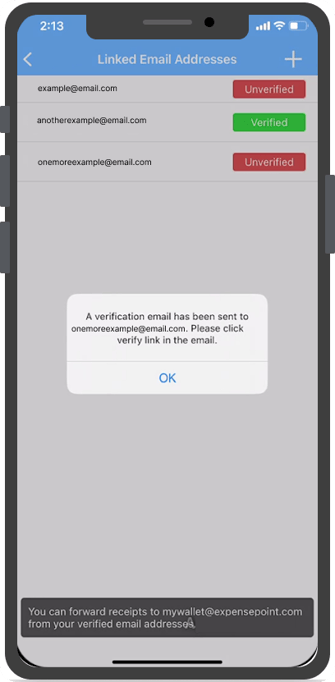
-
Unverified Status
The newly added email address will appear in the Linked Email Addresses list with an Unverified status until you verify it. -
Confirm via Email
Check your inbox for an email from ExpensePoint and click on the Confirm your email address link.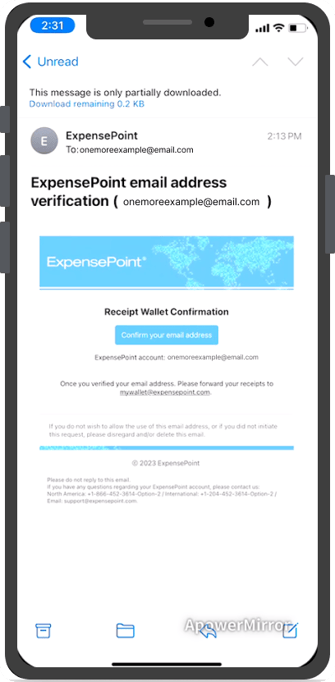
-
Verification Success
Once confirmed, a success screen will appear on your mobile web browser.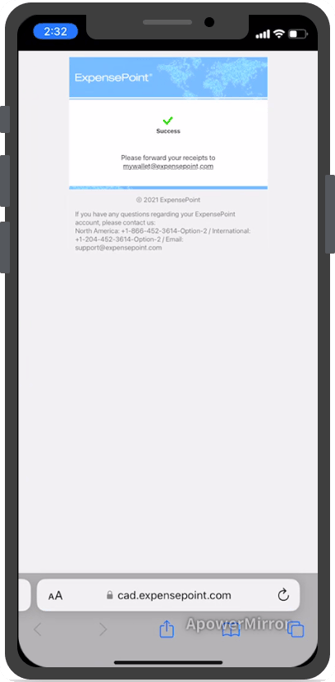
-
In-App Confirmation
Back in the ExpensePoint app, you will see a message at the bottom of the Linked Email Addresses screen. It will inform you that you can now forward receipt emails to your ExpensePoint Receipt Wallet through the mywallet@expensepoint.com email.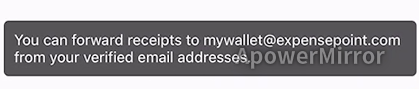
Steps to Delete an Email from the Linked Email Addresses
-
Access the Linked Email Addresses Screen
Navigate to the Linked Email Addresses list in your Receipt Wallet. -
Select the Email to Delete
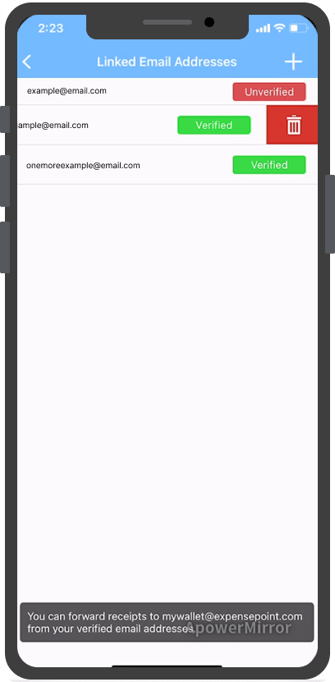
Find the email address you want to delete. Swipe left on that email address to reveal the Delete icon
.
-
Confirm Deletion
Tap the Delete icon.
A confirmation message will appear asking you to confirm the deletion.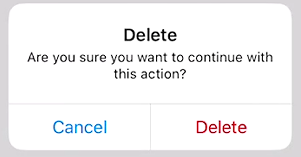
Tap Delete to confirm the removal or tap Cancel to abort the deletion.
For web browser or desktop application instructions, please refer to this article.